Remarked Giclees

What is a remark?
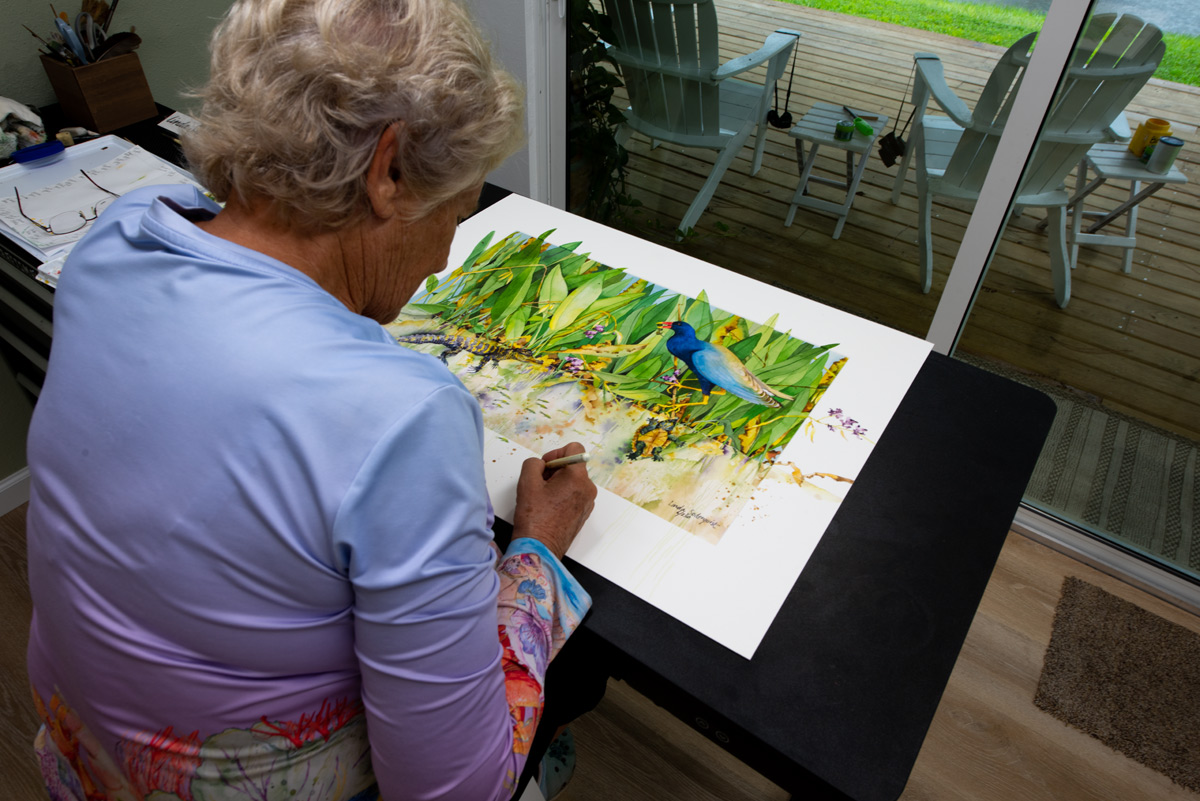
A remarked giclee is essentially a hybrid. It incorporates the elements of an original unique watercolor art with the financial advantages inherent in a high quality reproduction. My remarked giclee begins with a museum quality fine art giclee reproduction. The original watercolor is scanned and saved as a high resolution image in a studio. I then proof the printed image to check for color accuracy. The digital image is then printed with archival inks on high quality paper and matted using acid free materials to guarantee longevity without fading or altering of color. After matting the giclee I look carefully at its edges and determine which elements can be extended out on the white mat. The parts of the giclee that I choose to paint on the mat will give the reproduction more depth and draw the viewed into the painting. I sketch these extensions on the mat and carefully extend the images using the same watercolors and techniques found in the original painting. Each remarked giclee contains original watercolor extensions. No two will be the same. Therefor, this technique creating remarked giclees produces an original unique piece of art every time.
What is a giclée?
The word giclée (pronounced zhee-clay) originates from a French term meaning “to spray.” This alludes to the technology used for giclée printing, in which special inks are “sprayed” on a substrate. A giclée may be defined as follows:
High fidelity, archival quality digital reproduction of a two-dimensional artwork, generally consisting of a limited quantity of copies numbered and signed by the artist.
Image Capture
The first, and most important, step in the giclée process is to obtain a digital image of the artwork – starting out with a good, sharp, high resolution image is key to producing a quality giclée.
Traditionally, this was done by photographing the artwork to obtain a 4”x5” film transparency, which was then scanned into the computer. The current approach is to photograph the artwork digitally, by-passing the film stage. This results in a more accurate reproduction, because it eliminates one “generation” from the reproduction process.
Digital photography of artworks sometimes is done with a high-end, D-SLR (digital single-lens reflex) camera, such as used by professional photographers for weddings, portraiture, commercial photography, etc. These cameras often use lenses compatible with their 35mm counterparts and capture the images in a 32 to 40+ MB maximum file size. The advantages of this type of camera are their relative low cost and the fact that image capture is instantaneous, allowing the use of strobe lights (“flash”). However, because of the limited size of the image files obtained with this equipment, it is suitable only for small to perhaps medium-sized artworks, but inadequate for larger pieces. Also this type of camera often does not capture well color nuances, i.e., similar shadings and gradations within a color.
Our preferred method to capture art images digitally is with a “view-camera/scan-back” setup. As its name implies, this consists of two main components: a large format view camera (generally a 4x5) and a “scan-back” attachment.
The scan back uses the camera optics, but “scans” the image line-by-line, taking several minutes to complete the process.
The result is a very high-resolution file (up to 300MB or more), resulting in a sharper image, better detail, and the ability to print larger sizes.
The photos below illustrate the difference in capture image quality. A USA map approximately 2.5 ft. by 4ft. was shot by a professional photographer using a high-end professional digital SLR camera (left) and our scan-back system (right). Note the difference in quality, as shown in the small cutouts.

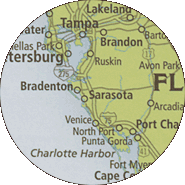
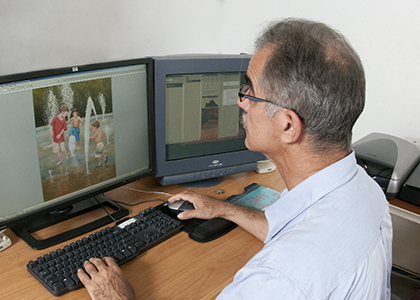
Image Editing and Proofing
After an art image has been successfully digitized, it must be “edited.” This process accomplishes the following:
- Adjust the color, saturation and contrast of the image to closely match the original artwork. This is required because subtle variations occur as an image is captured, brought into an editing program, output to a printer and printed on one or more types of media.
- We correct the colors and values digitally, by means of “adjustment layers “, which are over-imposed on the image. This means that the editing process is “non-destructive,” i.e., does not change the base image; therefore, we can always undo a change, reduce the intensity of a change, or simply return to a previous version of an image.
- Adjustments can be made globally, to affect the entire image, or just to specific areas. Generally, the correct approach is to make global adjustments first, to bring the overall image as close as possible to the original, and then adjust specific areas. For instance, an image may have an overall colorcast; this would be adjusted first, and then specific elements of the image may be adjusted for color (hue), intensity (saturation) or value (contrast, darkness). Most reputable giclée firms will perform both types of adjustment, but some “economy” printers only do global adjustments, if at all.
- The image editing process culminates with the printing of one or more “printer’s proofs” (approx. 8X11 or larger) for final approval by the artist. Additional “tweaking” of the image may take place, if desired. The artist then signs the final proof and we archive it, so that we can reference it in all future printings of that image.
Printing
After proof approval, additional reproductions are created in the size(s) and quantities specified by the artist. Usually, artists do not print the entire edition at once, but rather order 2-10 prints at a time. This limits their initial cost and risk exposure, and it is one of the great advantages of giclées over lithography.
Quality giclée printing strives to achieve two goals: 1) high-fidelity or faithfulness to the original artwork, and 2) archival prints that won’t fade, crack or change colors noticeably over a long period of time.
To achieve these goals, giclée printers must use the right combination of printer, printing software (“RIP”), print profile, media or “substrates,” inks and coatings. There are many manufactures and providers of these elements, and many combinations are possible. It is beyond our scope to review these, and the technology changes very quickly. However, when evaluating giclée printing, you should keep in mind the following basics:
- The printing hardware should support at least an “apparent” resolution of 1440x720 dpi (dots per square inch), and should output variable size ink droplets. (Older printers, many of which are still in use, print with fixed-size ink drops, resulting in dotted patterns on the image).
- The inks should be archival. Generally this means pigmented inks or UltraChrome inks, as opposed to dye-based inks.
- Substrates should be pH neutral (“acid-free”).
- The printer should have at least 8 different ink cartridges, including black.
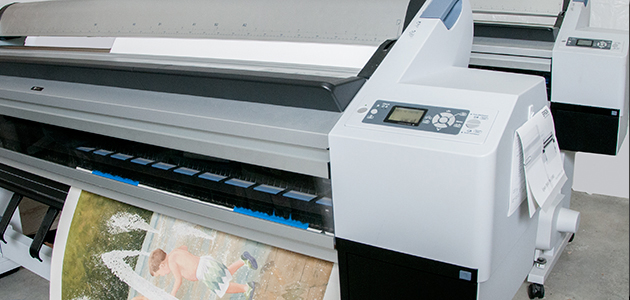
Traditionally, most giclées were printed on Iris printers. However, today most shops use Epson, Cannon or HP printers. We use the 9-color Epson 11880, which has outstanding print quality, a wide color gamut and excellent grayscale and neutral tones capabilities. It’s also one of the few printers that handles media rolls up to 64 inches wide. And we only use Epson archival-quality UltraChrome K3 (3rd generation) inks and pH neutral archival art media.
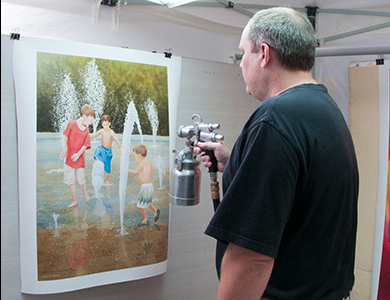
Finishing
Giclées printed on papers generally require no additional process after printing, beyond trimming and bagging. Canvas giclées, on the other hand, should be varnished, since most canvases are not framed behind glass. The varnish guards against accidental rubbing or abrasion and also helps seal out humidity. Finally, the varnish tends to give more “depth” to the image and makes the finish more closely resemble an original painting on canvas. Varnish can be applied by hand (with foam rollers), but generally better results are obtained with a spray gun, especially on larger pieces.
We use a high-volume, low-pressure (HVLP) spray system that provides a uniform mist of varnish. This set-up is generally superior to standard compressor tank systems because it provides a more consistent finish and results in less over-spray. The varnish we use is specifically designed for art canvases; it will stretch and bend around corners -- even on gallery-wrapped canvas -- without chipping or cracking.